After a year of redesigning and rebuilding my Pulsar instrument panel with updated avionics, it was time to find an interesting new place to fly! I stumbled across this adventurous duo hiking the slot canyons in Utah. I realized this was right at Escalante Airport (1L7), where I have stopped in the past a few times for fuel. I had no idea it was so close to slot canyons that I've wanted to hike for years. All I had known about was Antelope canyon, which is close to Page airport (PGA). However, the gross commercialization of Antelope canyon made it a complete no-go for me. Learning about the Peek-a-Boo and Spooky slot canyons, freely accessible to the adventurous in a somewhat remote area was just perfect!
The first planning stumble came with no means of transportation from Escalante to the canyons. During January, all of the vehicle rentals and much of the surrounding tourist support structure was shut down for the winter. The next option was Bryce Canyon airport (BCE), about an hour's drive away. Years before, we flew into Bryce Canyon for Thanksgiving and rented a vehicle through the Turo app. This process worked well, and proved to be available and efficient for this trip as well.
With no direct driving route to this part of the country, this was a perfect flight destination. Driving would've meant about 9 hours, compared to about 3 hours flying. We took off first thing in the morning, arrived with the vehicle waiting at the airport, then spent the rest of the day in Bryce Canyon National Park before finally checking into the hotel. Sure beats driving all day, arriving late and tired with no time for activities that day!
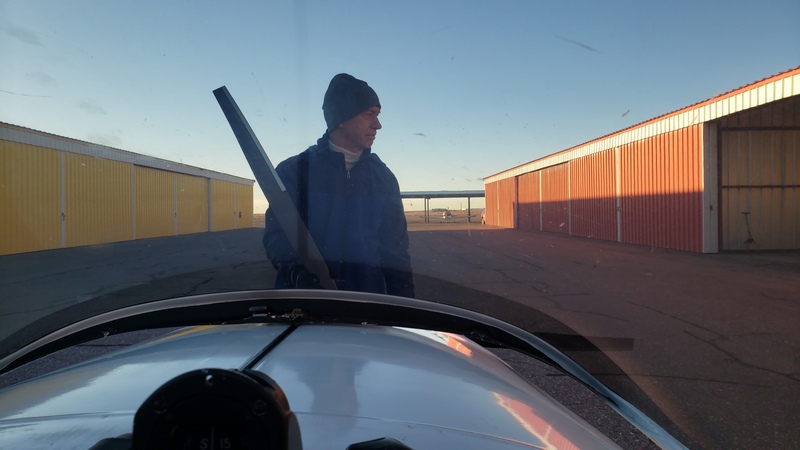

Pulling the Pulsar from the hangar for a cold January morning start.
50% ready for flight!
Part of my rework this year included the purchase of the ground adjustable eProp. I replaced my inflight adjustable Arplast prop weighing nearly 20 lbs for the 5 lb sProp. The eProp is slightly larger with a more modern airfoil. Despite giving up inflight adjustability, the eProp is actually performing better... and so much lighter!
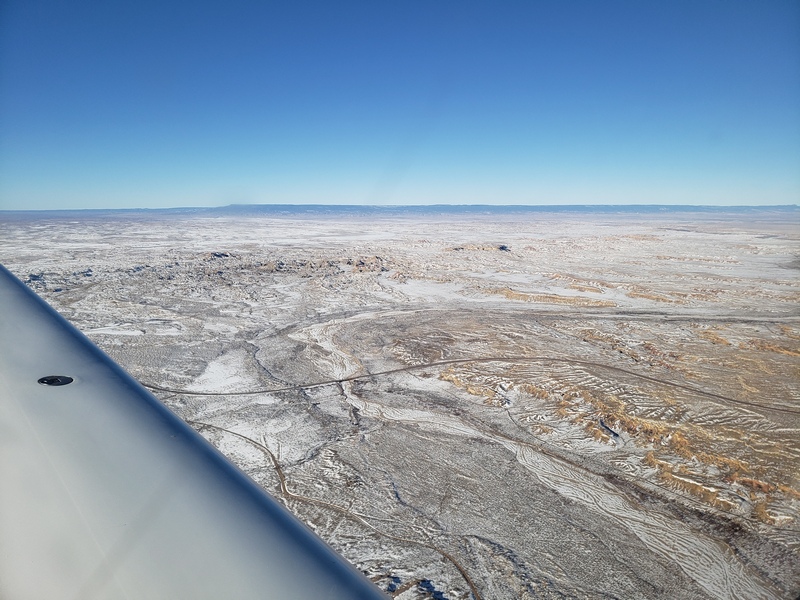
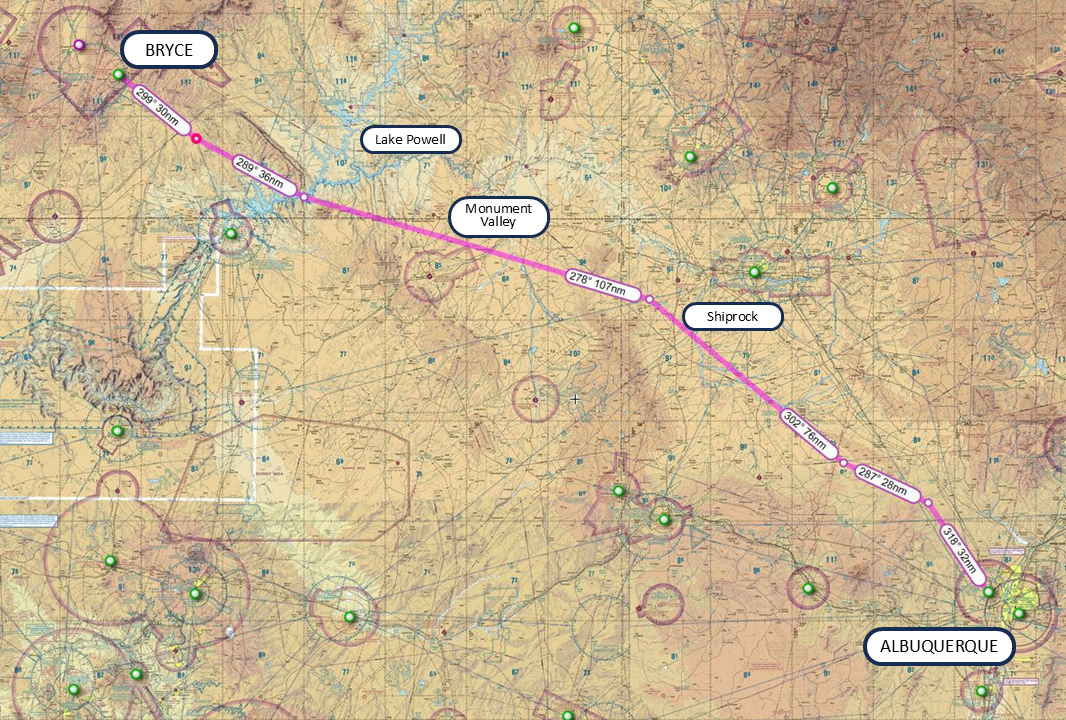
A snowy start over western NM.
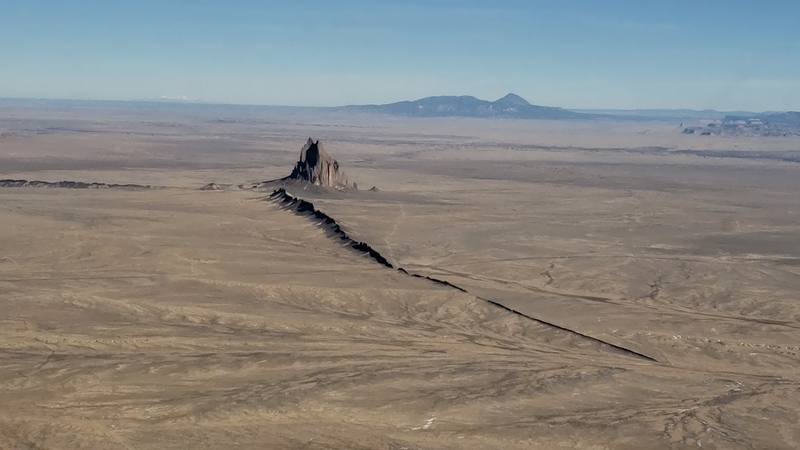
Passing Shiprock.
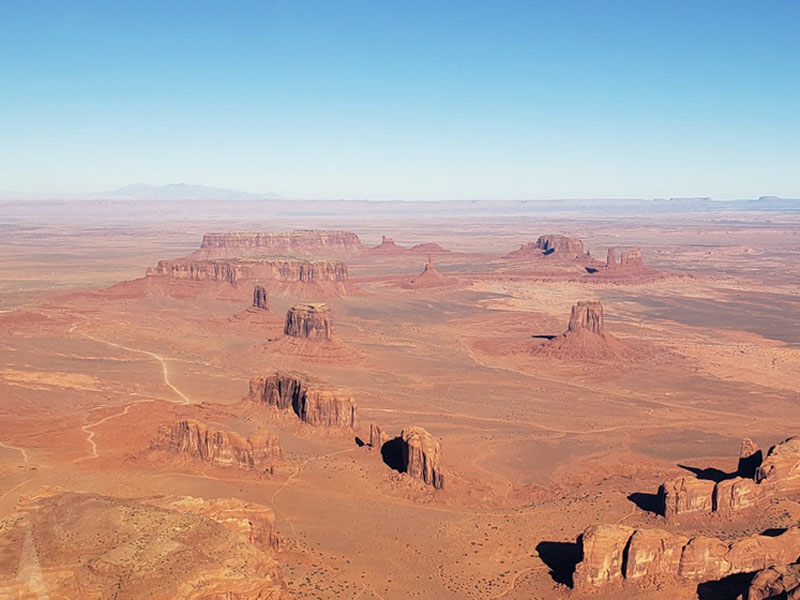
Passing Monument Valley.
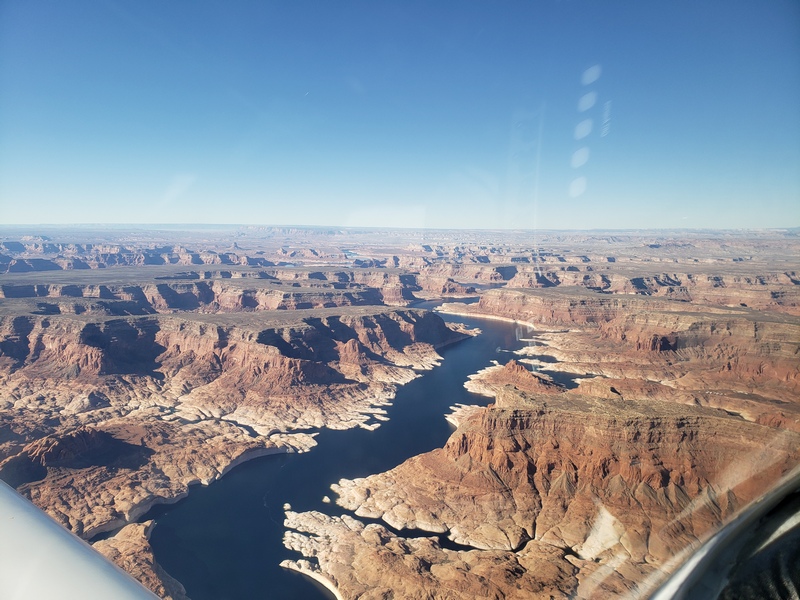
Passing Lake Powell.
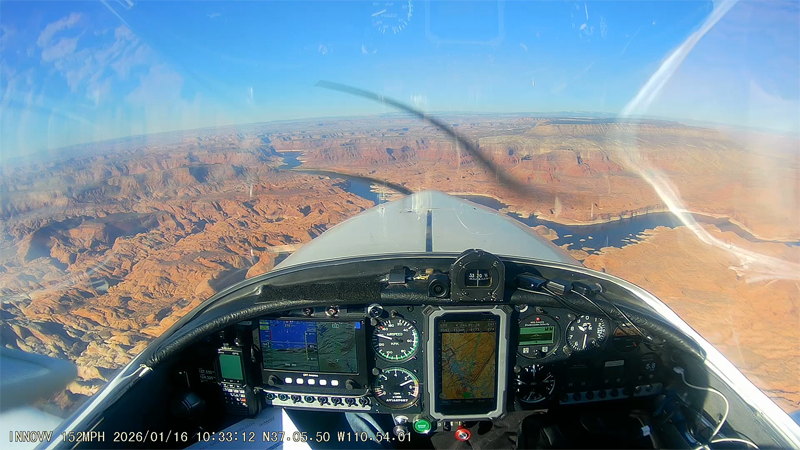
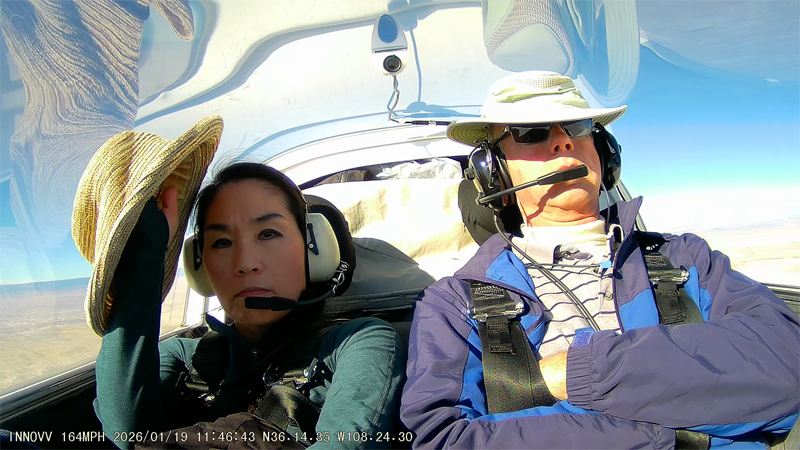
Cockpit view over Lake Powell. Crusing at a comfortable 152 mph GS.
Letting the new autopilot do the work!
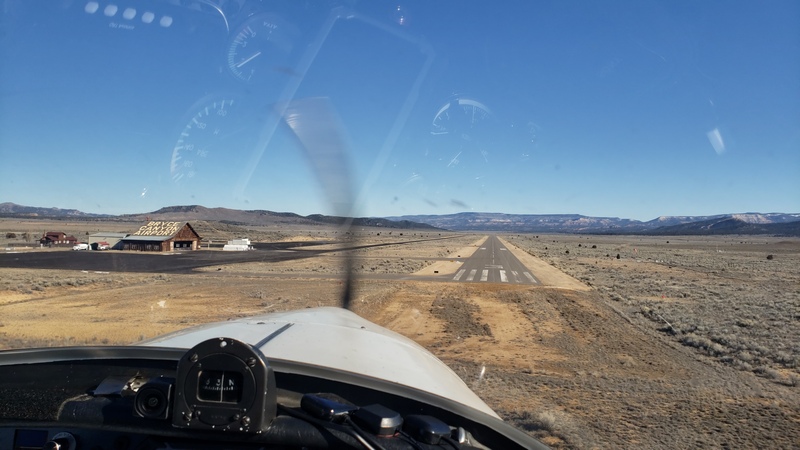
Short final at Bryce Canyon.
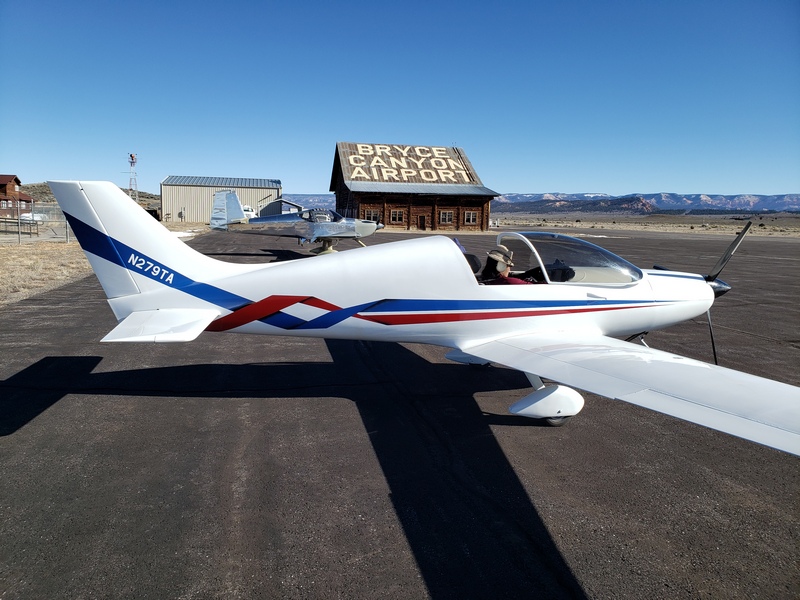
On the ground at Bryce. Normally, there are a few feet of snow on the ground, but not this year. Conditions were excellent to visit!
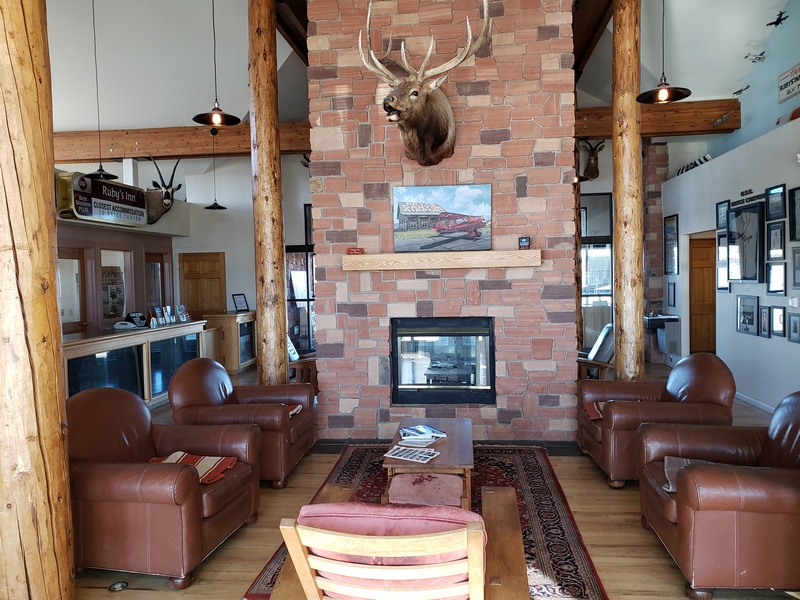
A very nice FBO at Bryce airport.
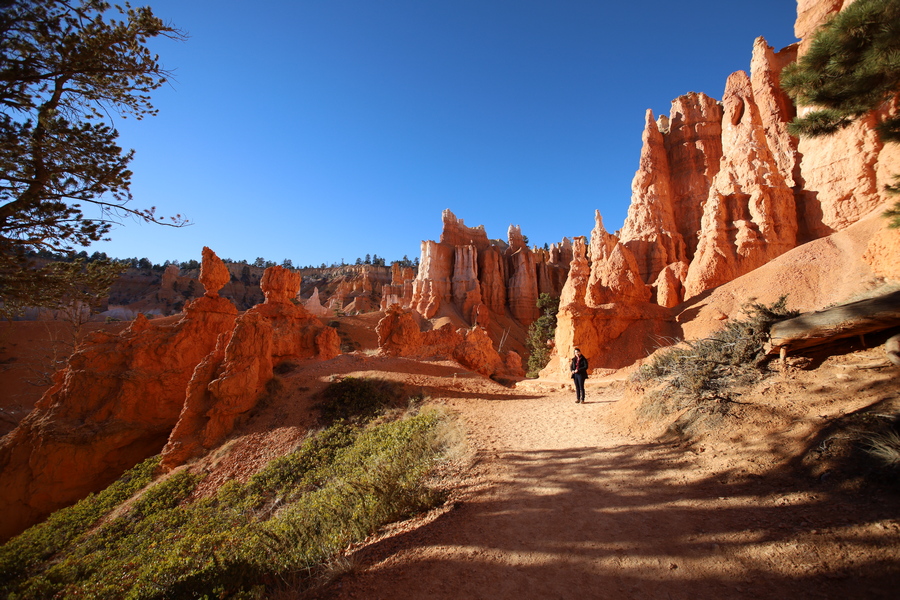
Hiking in Bryce Canyon National Park. Off-season, there were people around, but not many. It was easy to get pictures without the crowds.
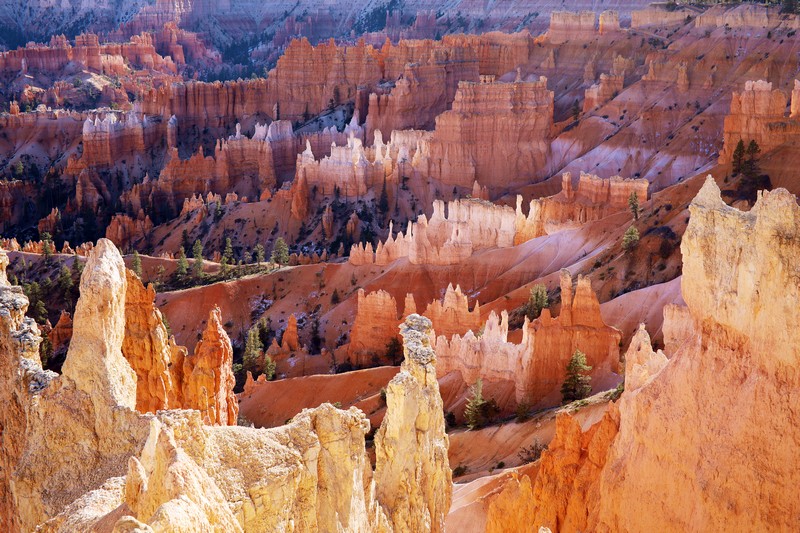
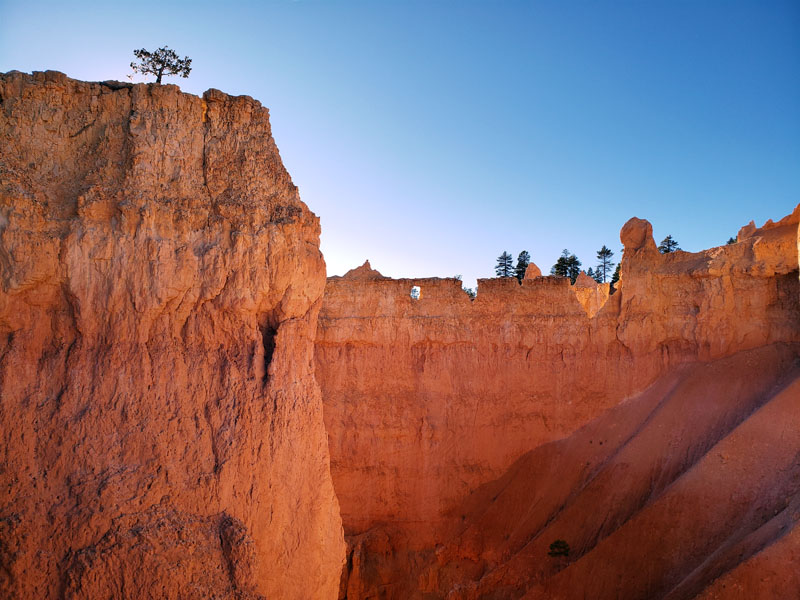
Bryce is always awe inspiring!
Late in the afternoon on day of the flight.
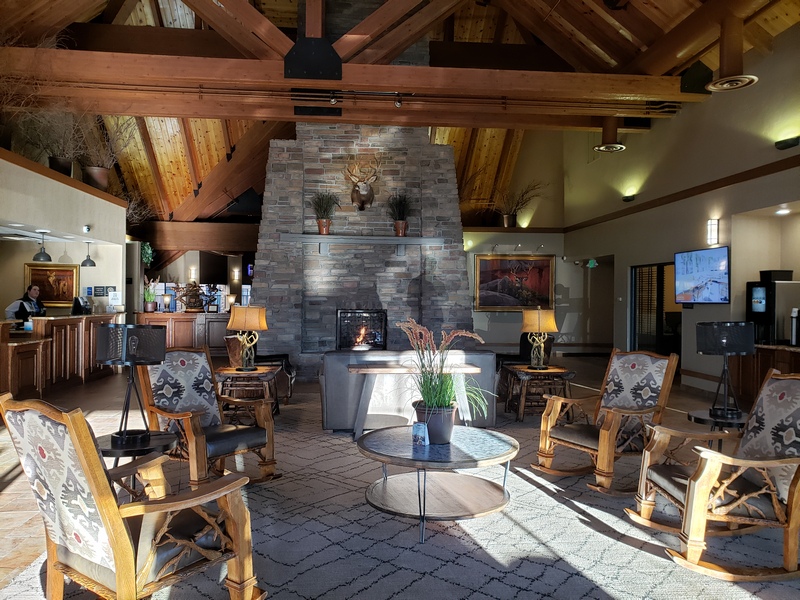
The Best Western "Plus"... very nice! Even better ("Best-est"?) are off-season prices with very few people.
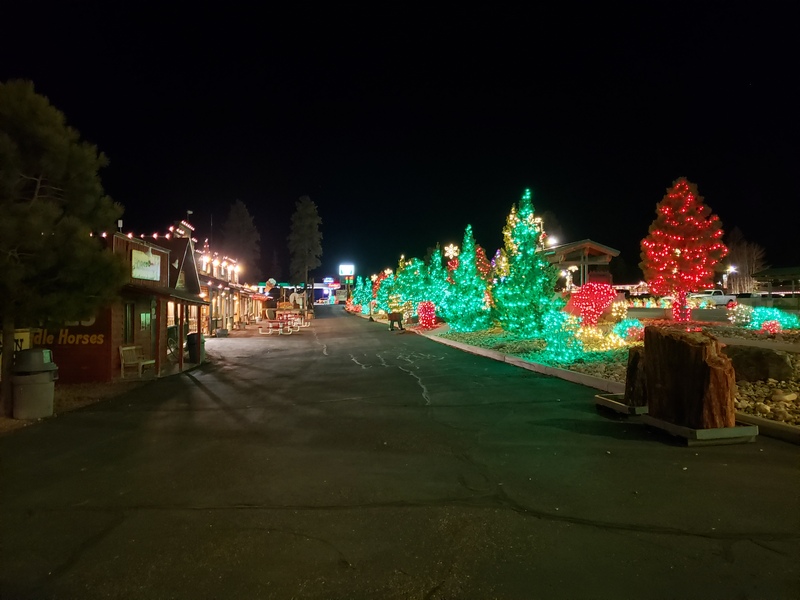
The Christmas lights were still up in Bryce Canyon City.
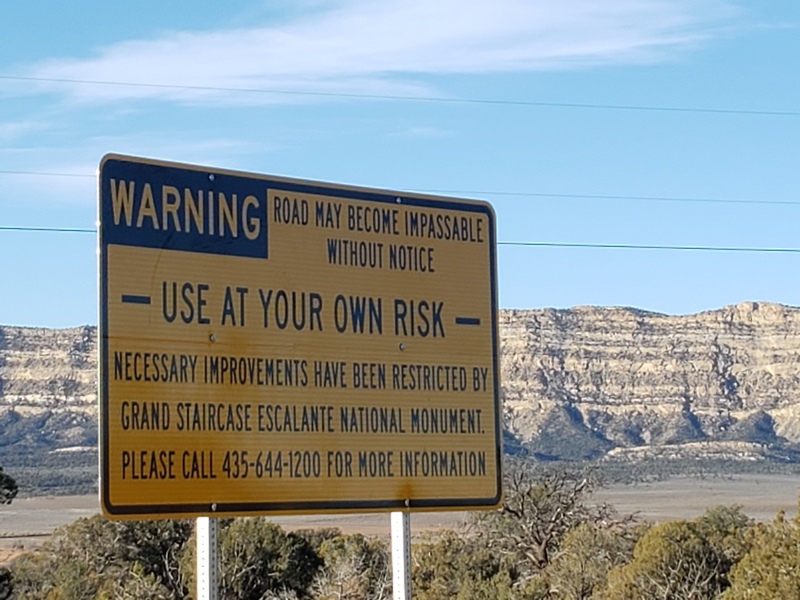
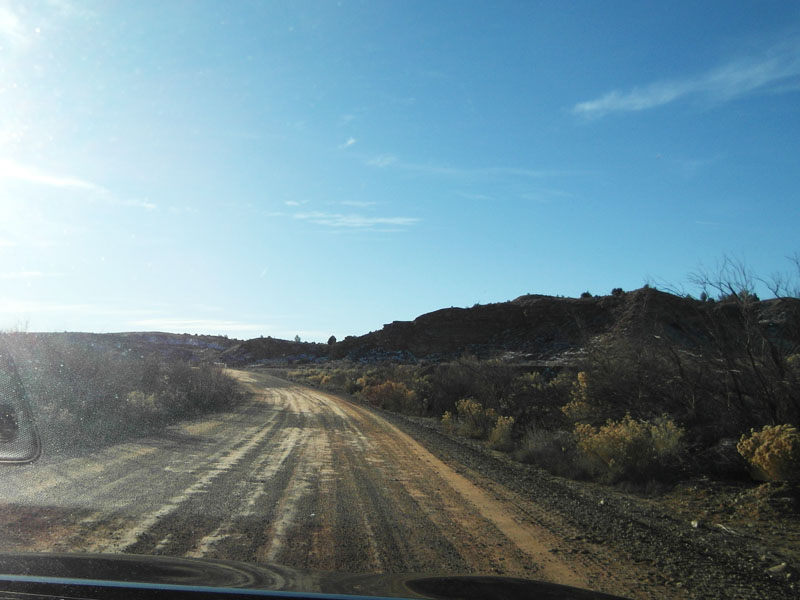
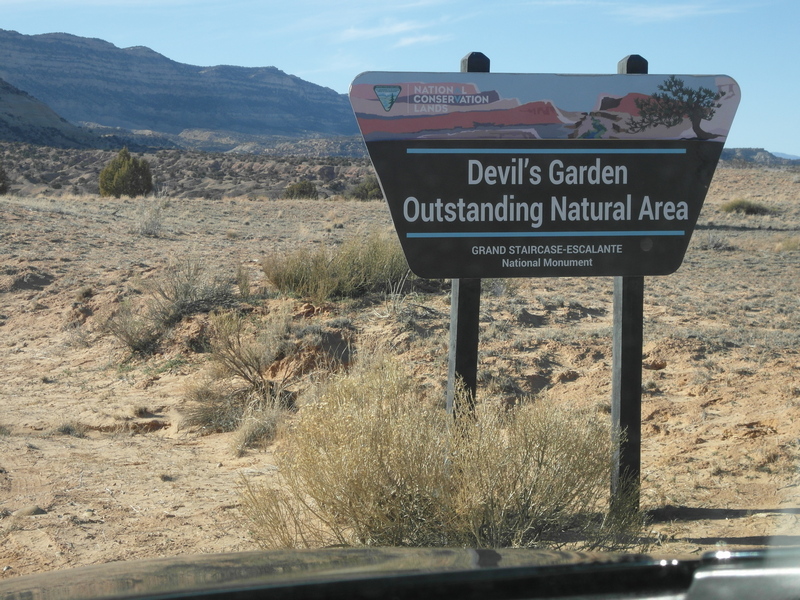
The next day we drove to the slot canyons. After about an hour drive from Bryce Canyon City, we passed through Escalante. This is the warning sign that begins the hour-long drive down the dirt/gravel road to the slot canyons.
The road was in very good condition for our drive. However, during the rainy season, there are definitely sections that would become difficult without 4WD.
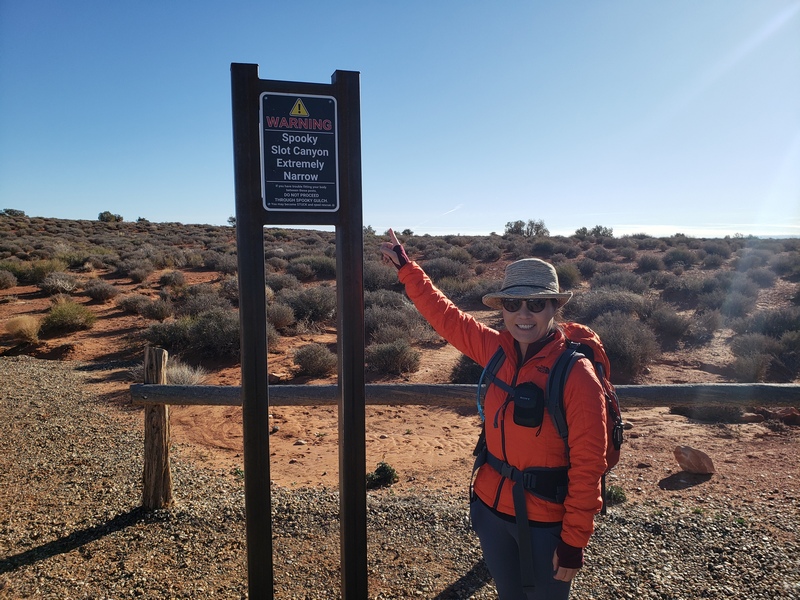
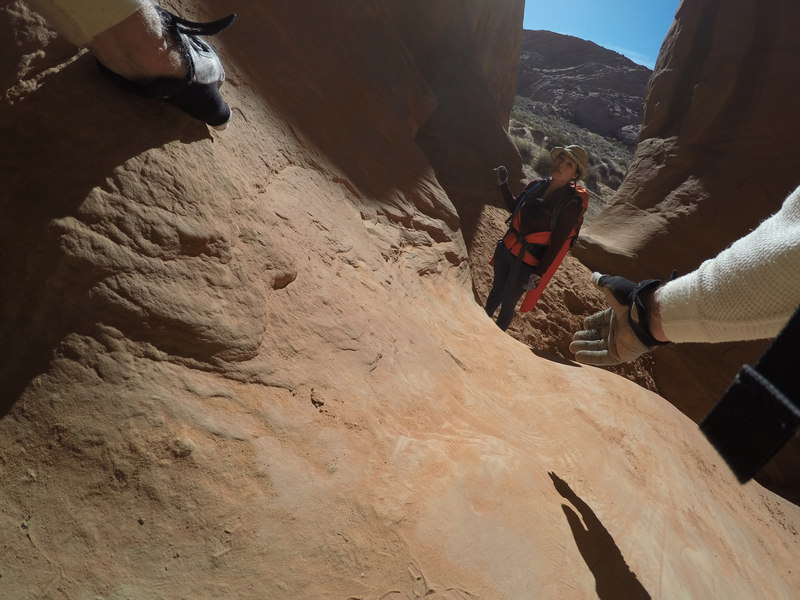
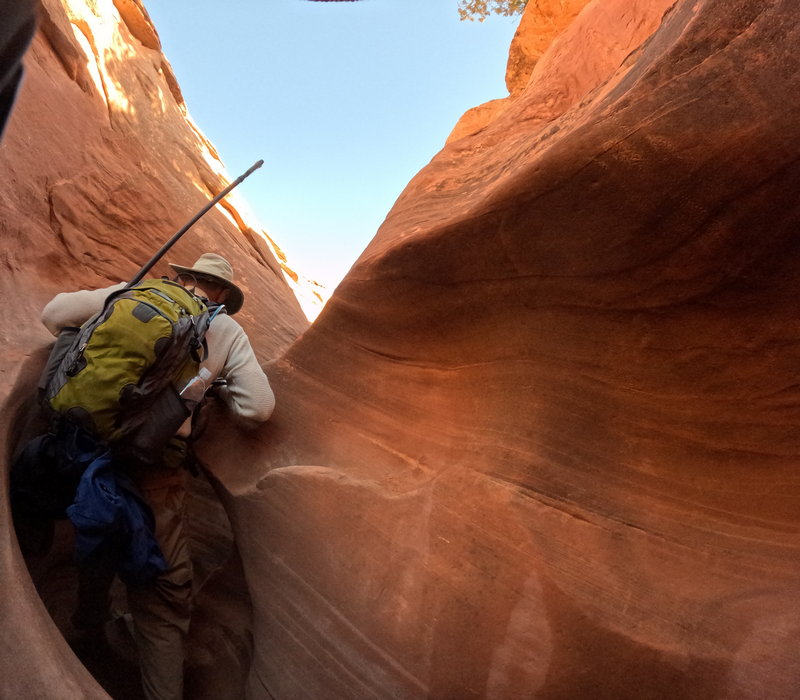
Our first challenge once arriving at the trailhead. You MUST be able to squeeze between the uprights in this sign to fit through the very tight slot canyons, in particular, the Spooky canyon. We made a mistake by being too "geared up" with a typical hiking backpack. I saw pictures where people took off their packs to maneuver through the canyons, so I wasn't too worried. However, trying to maneuver with a regular pack was too difficult. As a result, instead of the typical loop of hiking up Peek-a-Boo canyon and back via Spooky canyon, I terminated the hike after Peek-a-Boo, hiking back down rather than through the even more narrow Spooky canyon.
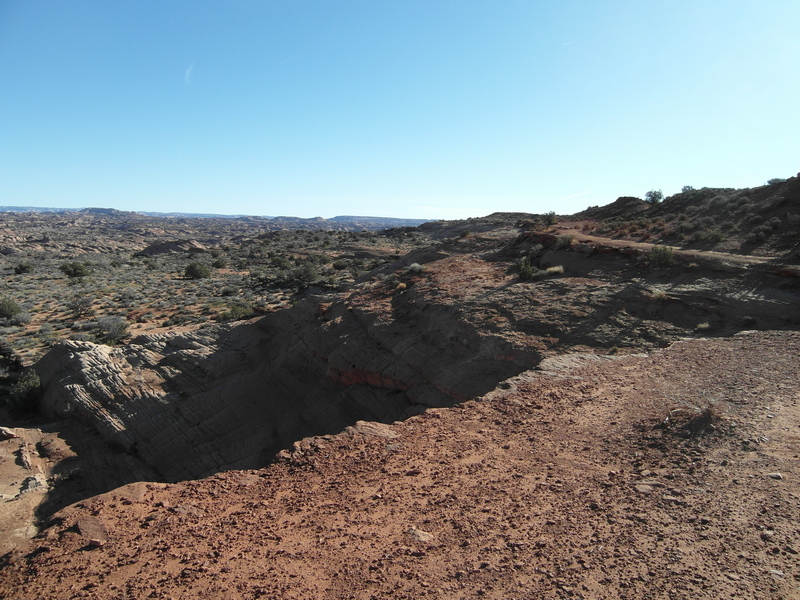
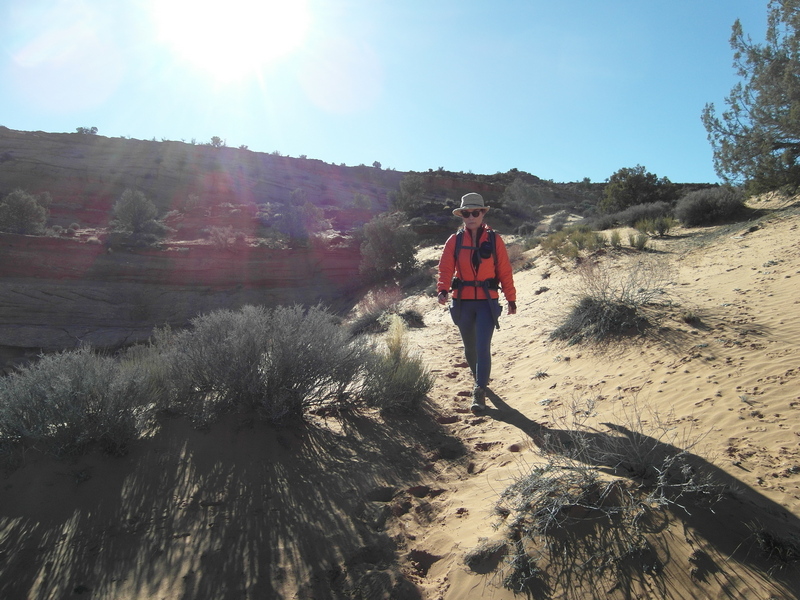
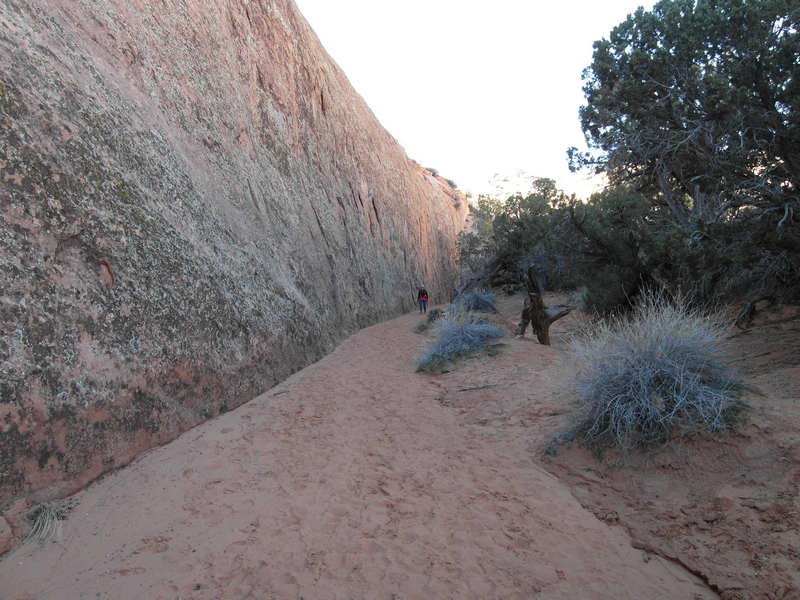
The hike from the trailhead begins along a large canyon rim, requiring a few turns before getting a glimpse of the slot canyons. This part of the trail is well-worn and obvious.
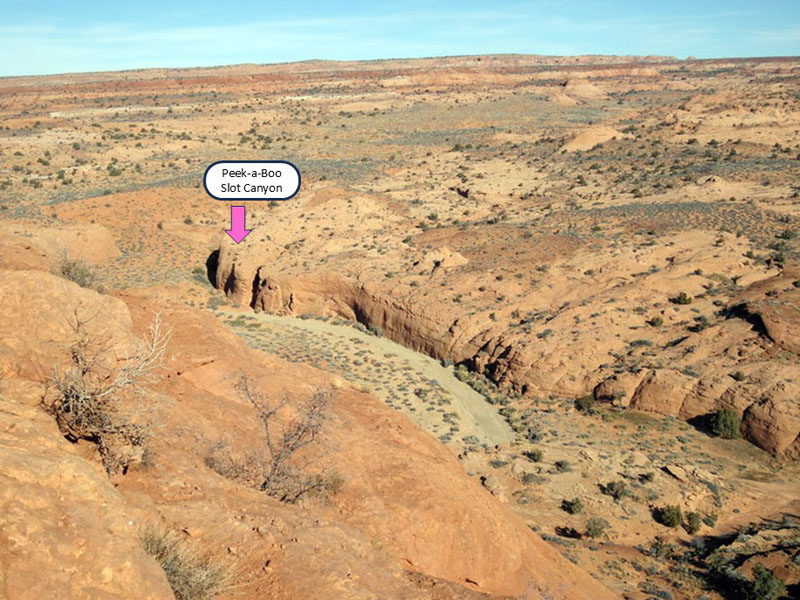
Our first view of the slot canyons. We needed to continue our hike around this rim canyon and down along the canyon floor before getting to our destination.
Although the trail became more obvious once beginning the descent into the canyon floor, the path down the rocks from the previous picture to this picture was not very certain. There were cairns, but no clear footpath on the rock surfaces. Keeping the big picture in mind of rounding the canyon down was the best way to remain on track. However, the wayfinding while ascending after the hike was more challenging.
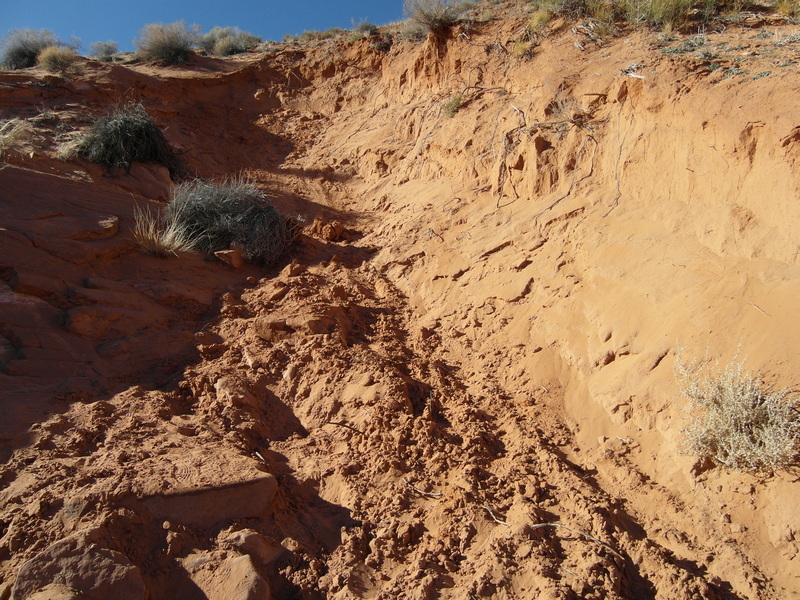
I would absolutely hate to do this when wet and muddy! Even dry is was a bit of a pain. Fortunately, it was a short section.
Along the rock wall in the bottom of the canyon.
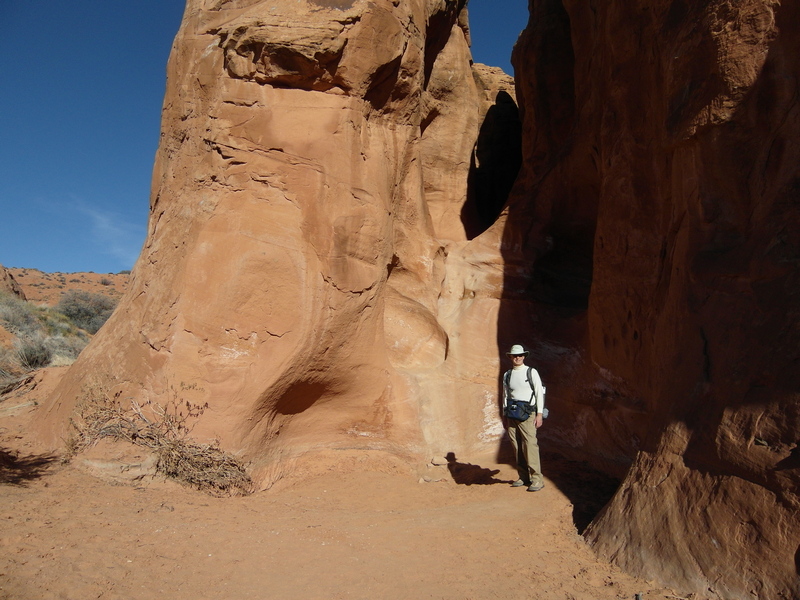
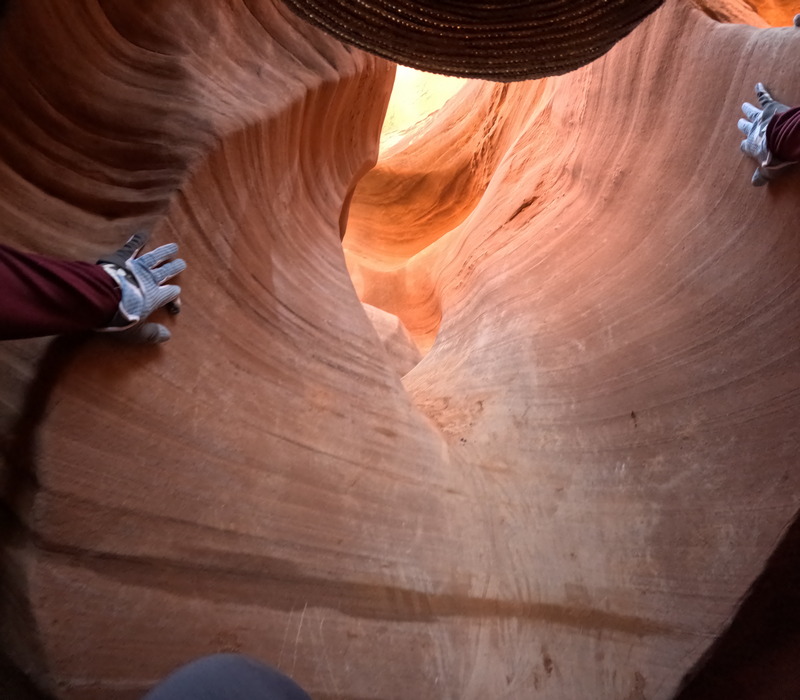
Finally to our destination: the start of Peek-a-Boo slot canyon! I knew this first entry into the canyon was supposed to be a challenge, and true to form, it was! The entry was a bit higher than my height, but there were some worn in foot and handhold indentations. For my height, the challenge was not so much the reach, but it was the slick nature of the sandstone. I had to brush off all the dust to get a grip. Everything was rounded and smooth with nothing sure to grab on. The real problem was a very possible slip. One slip would easily result in a busted knee cap and be the end before the start.
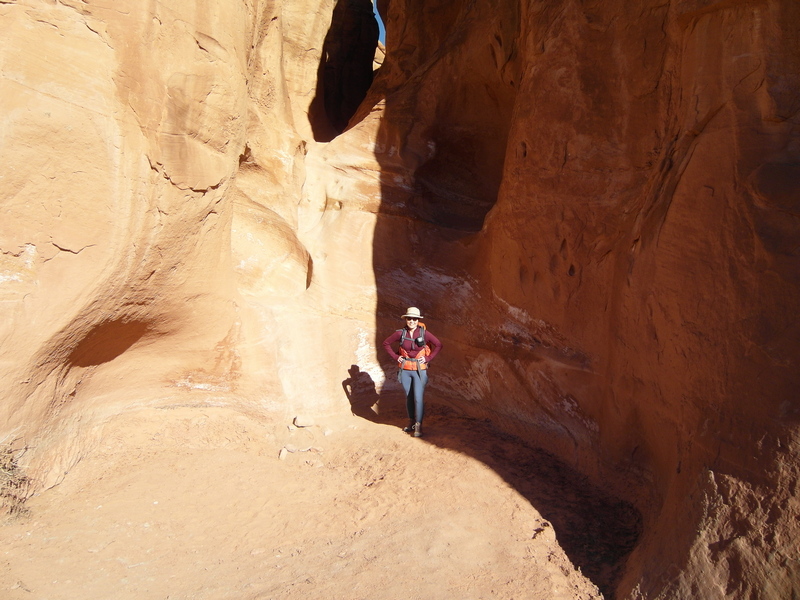
Here the entry is more visible at almost twice the height of Kim.
I climbed first then shed my gear to give Kim a hand up... after she had ascended high enough for the reach.
This is the second step up after the initial entry. It is not as challenging, but again, you can see the fine sand against the hard rock, making for slick conditions. After these two scrambles, the climbing was mostly over, and the worming through the crevices began shortly thereafter.
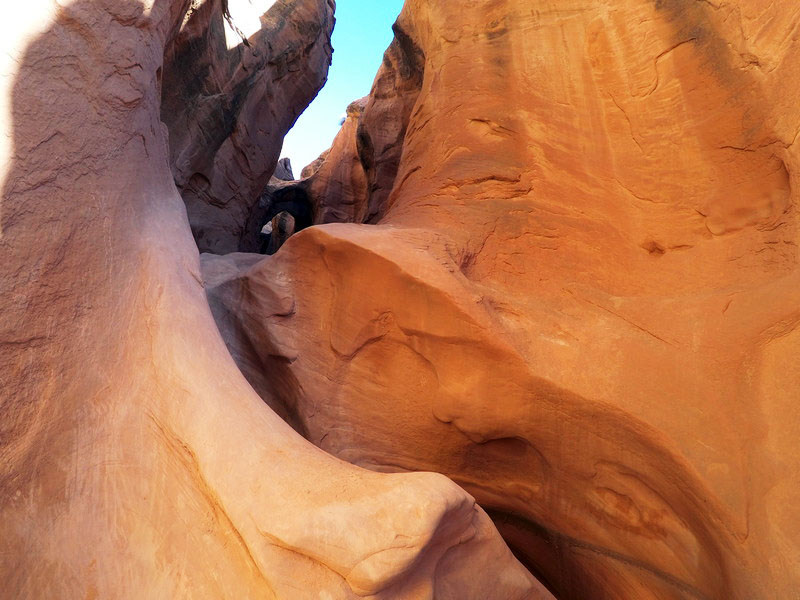
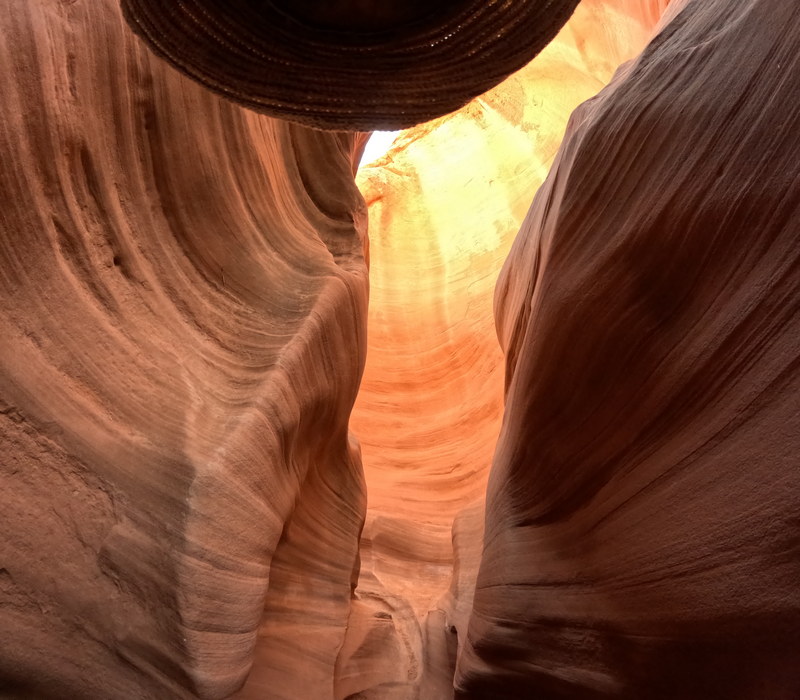
Let the twists and turns begin!
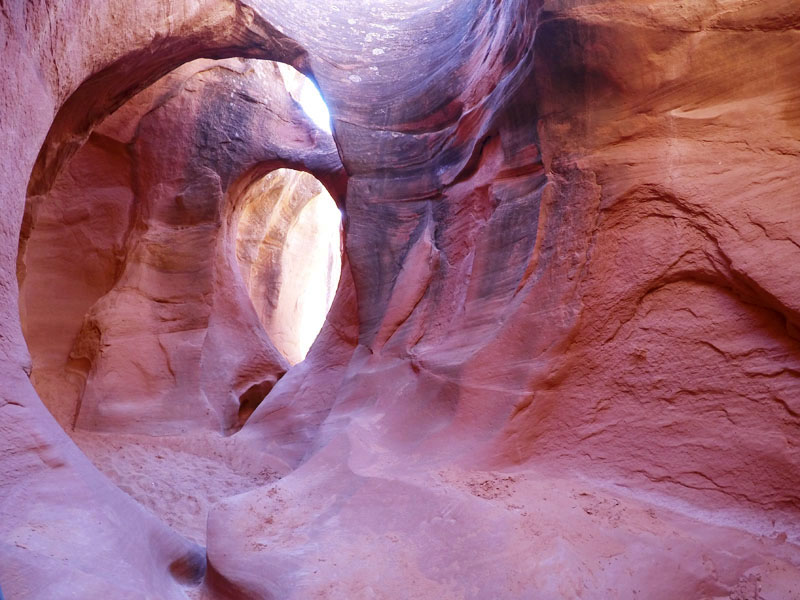
The canyon quickly opened up into some very nice chambers.

Admiring the sight!
Squeezing our way forward. I had an Insta360 camera on a pole (seen here) to document the hike through the canyons, but somehow I likely dropped it out of the vehicle at the trailhead after the hike... totally sucked! I had a lot of loose equipment upon return to the vehicle, we were a bit tired and talking with other hikers, and I expect I just dropped the camera when gathering my gear. I didn't realize it until after the two hour drive back to the hotel. One lesson learned was to label all of my gear with my contact info. This doesn't guarantee a return, but if someone is honest, it's at least possible. In my case, there was simply no way to figure out who my camera belonged to. I expect someone is enjoying a new camera, since this was the inaugural use.

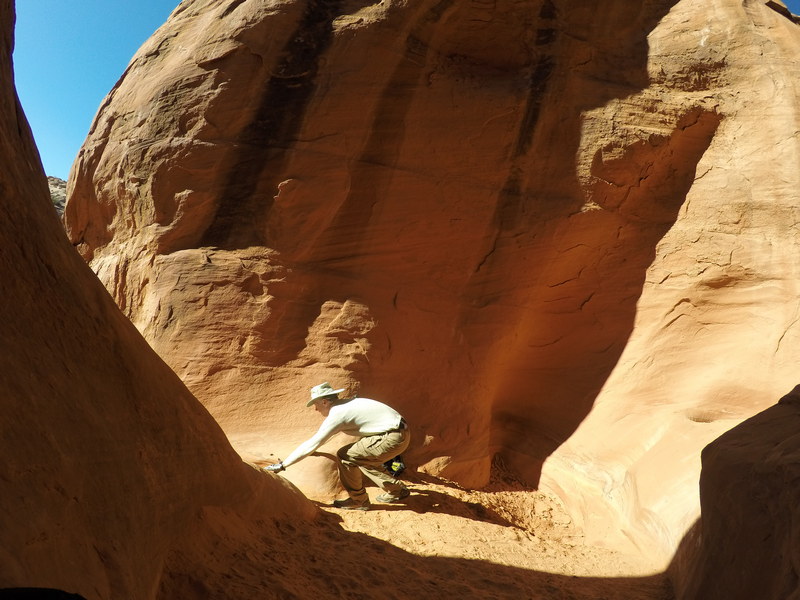
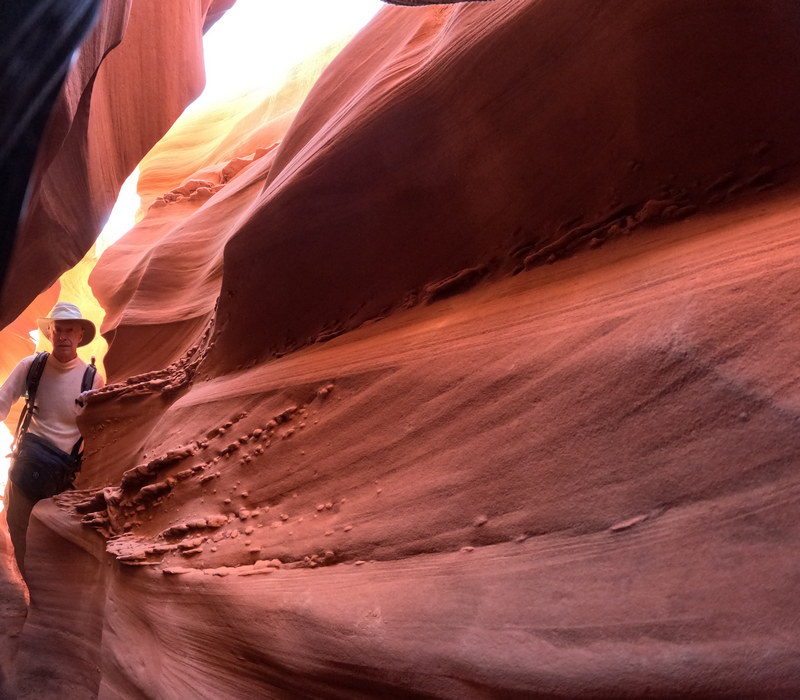
Another short scramble up the slick rock. You can see all the etched in slips from previous foot traffic.
Okay, I actually returned to help!
Even with Kim's GoPro running on automatic timelapse, it is difficult not to get a good picture in the canyons! Just crop out her hat!
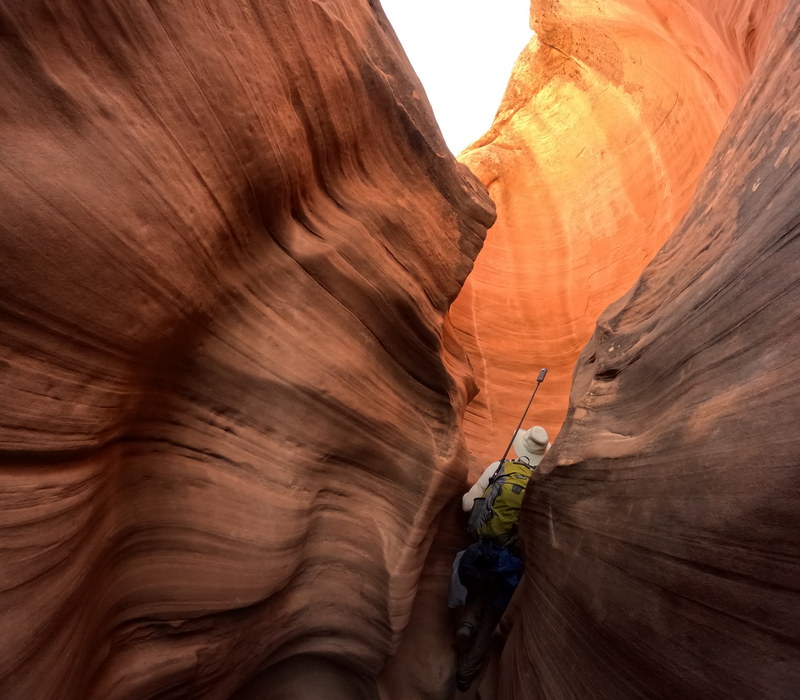
Getting narrower!
The pack is about to come off to fit through this section.
Nearing the exit.
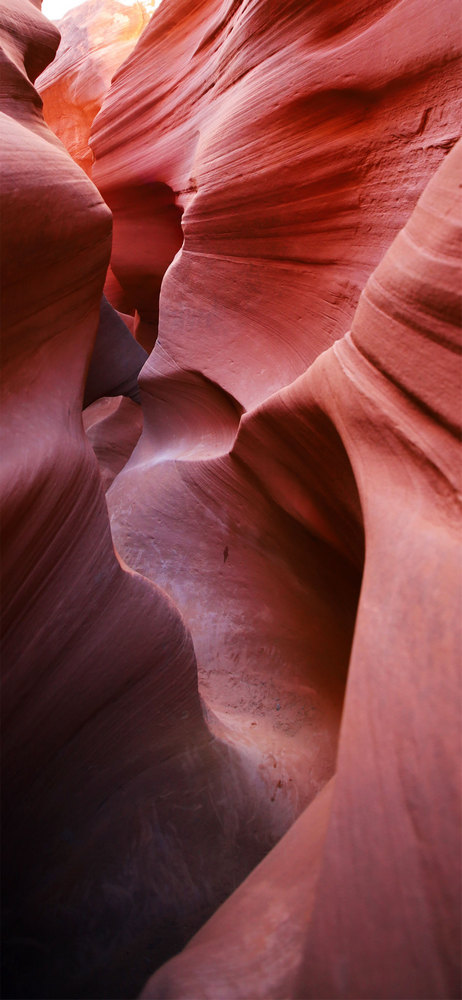
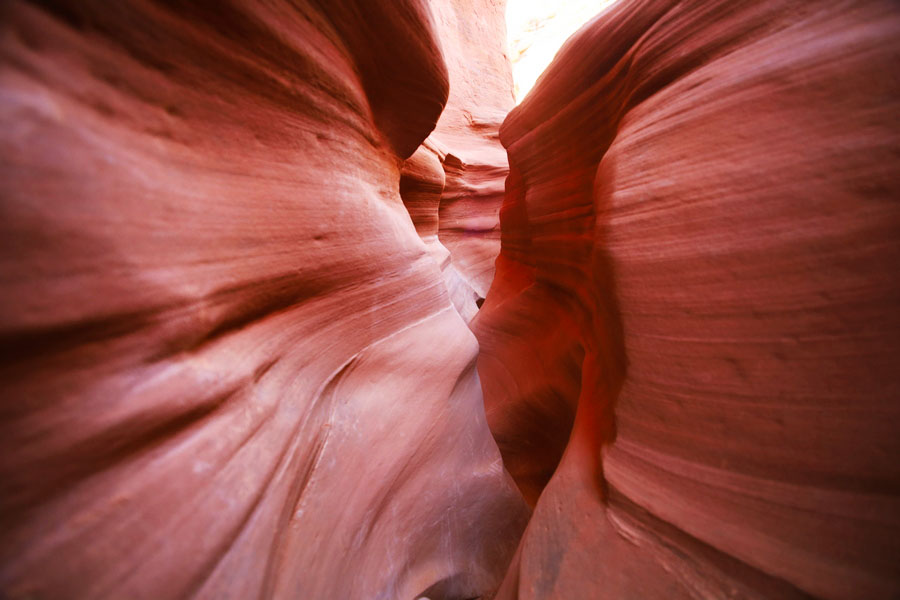
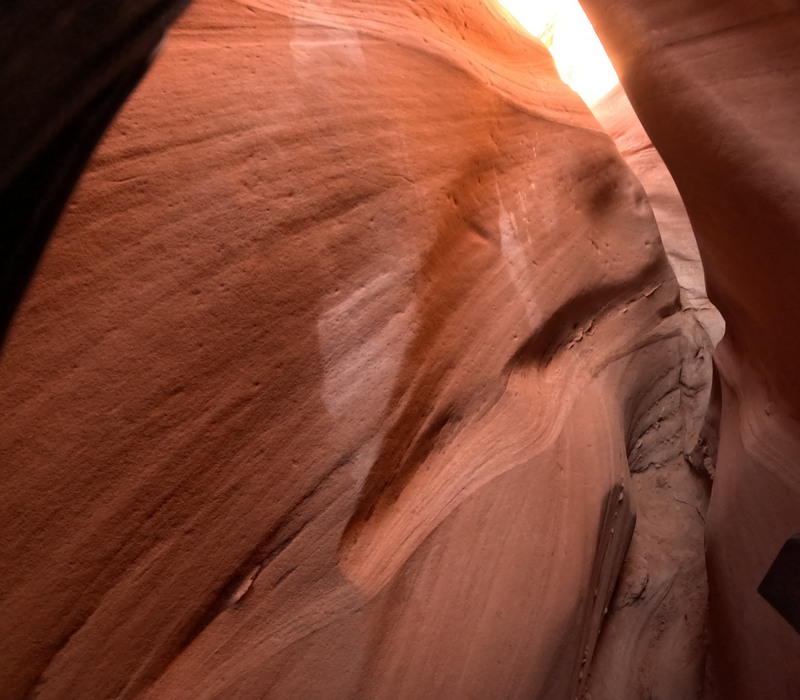
Nice sections of the canyon.

I wasn't sure about stopping here on the way back since I thought it was just a couple of rock outcroppings. However, talking with another couple back at the canyons, they said this was well worth a visit. They were correct! I would've been disappointed to have missed it.
There were several rock formations, including a couple of bridges. Everything was easily accessible to get up close and personal.
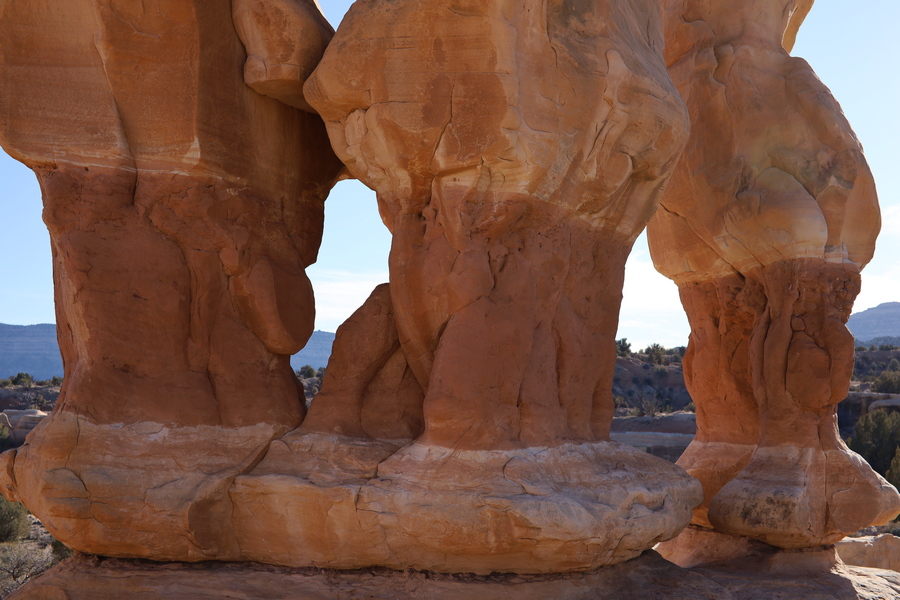

Large standing rocks.
Kim standing by large standing rocks!
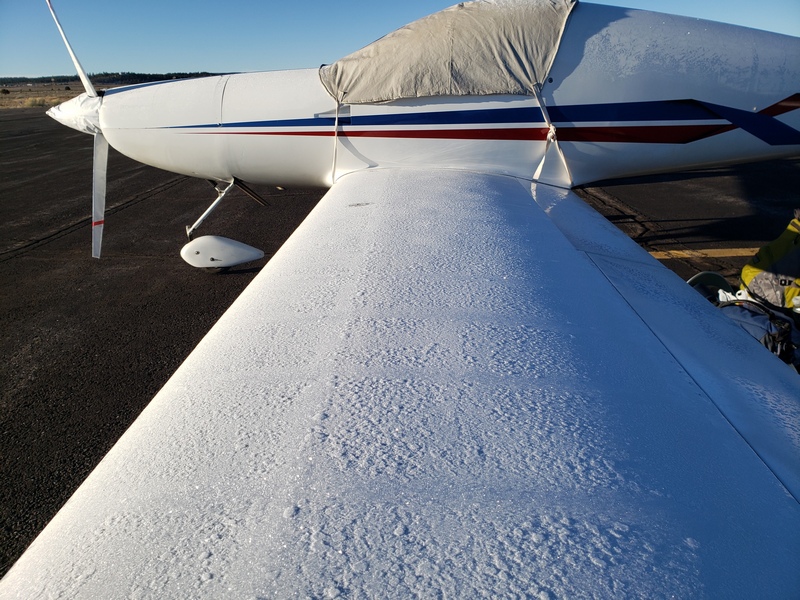
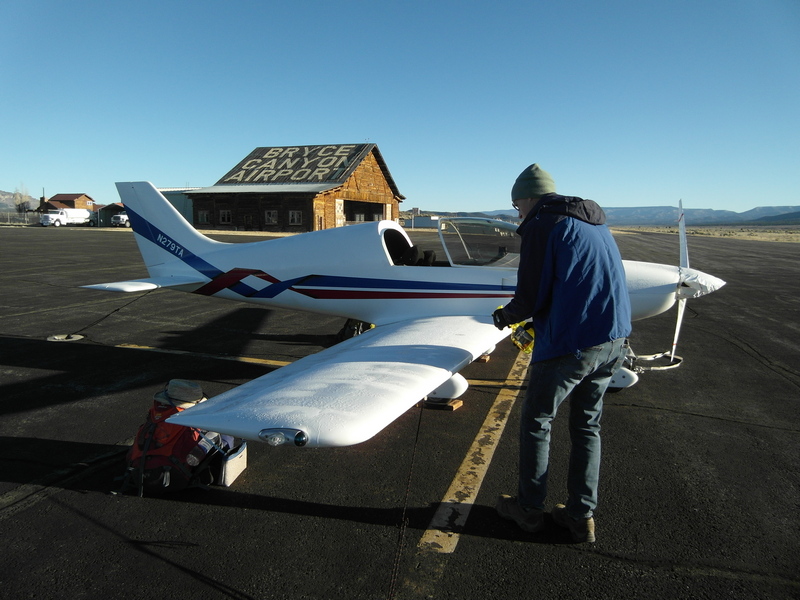
This was a 3-day weekend trip, and now it was time to fly back home. The nights and mornings were still very cold in the teens and touching single digits. The plane was coated in ice when ready to depart. A little ice never hurt anyone... oh, wait, it KILLS!
Any time I fly during winter, I bring a spray bottle of deicing fluid. I usually go through about a third to half a bottle, and it works perfectly. Aside from waiting a few hours for the sun to do its thing, I can get the Pulsar completely deiced and dry by the time we're packed up and ready to go. I consider deicing fluid and a blade squeegee among my mandatory winter equipment.
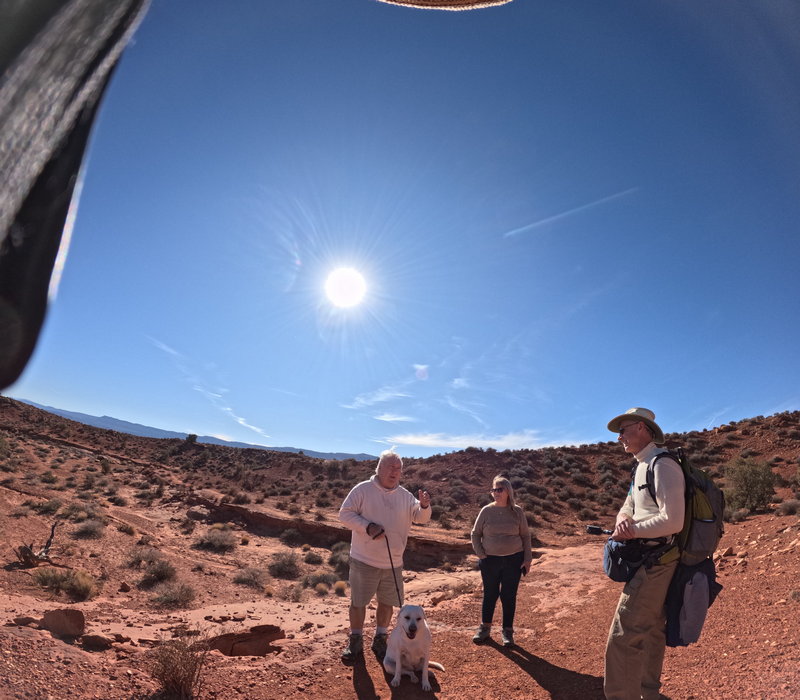
For hiking gear, next time I would not use a regular hiking pack. Instead, a body-fitting hydration pack or even just a large handheld water bottle. From what I read prior to the hike, I expected an easy one mile hike to the slot canyons. If I had to guess, it seemed a bit more like 1.5 miles. It's not a difficult hike, but these folks had to turn around before the wayfinding down the rock into the canyon. Pooch was not young and mobile enough, either.
I also had a large fanny pack style camera case for my Canon EOS-RP, 14mm lens, 50mm lens and 35mm anamorphic. I used my 14mm lens exclusively on the EOS in the canyon with no need for the other lenses. Despite wanting my best camera equipment for this trip, phone cameras are now so good, that I would not even bring my Canon camera next time. Lightweight and mobile is good for this trip! I would bring my "another new" Insta360 next time, because I'm sure the one I lost took some great pictures (sheesh!). I applied protective covers to the lenses which was definitely necessary since they got scratched up. Had I known I would just loose the camera anyway, I would've just scratched it up as much as possible (no acrimony here!) I could not find my hard case for my GoPro prior to this trip, so that lens did get scratched up. I bought a replacement lens, but it will require me to disassemble the GoPro when I get some time.
Although this was winter and the weather was cold in the morning, it did warm up pleasantly during the day. Shorts were not on the plan for this trip, but had it been summer, we likely would've worn shorts. This would've been a bad idea, however. It would not be possible to navigate the slots in shorts without trashing your skin. I might go with convertable pants, so I can have shorts at first and then convert to full length legs for the canyons.